GUI Settings
Messages
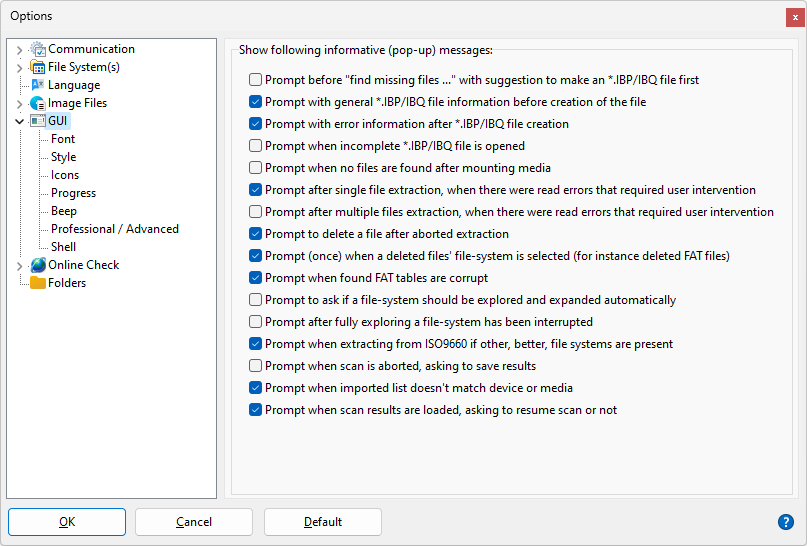
At certain moments you as a user can get prompted with a message, asking what to do. For some of these messages, especially those related to creation and completion of managed IBP / IBQ files, you can set not to be bothered again. This by means of a checkbox at the bottom of the message. If you want to enable them again, you can do so by setting / resetting them here.
Changing the font
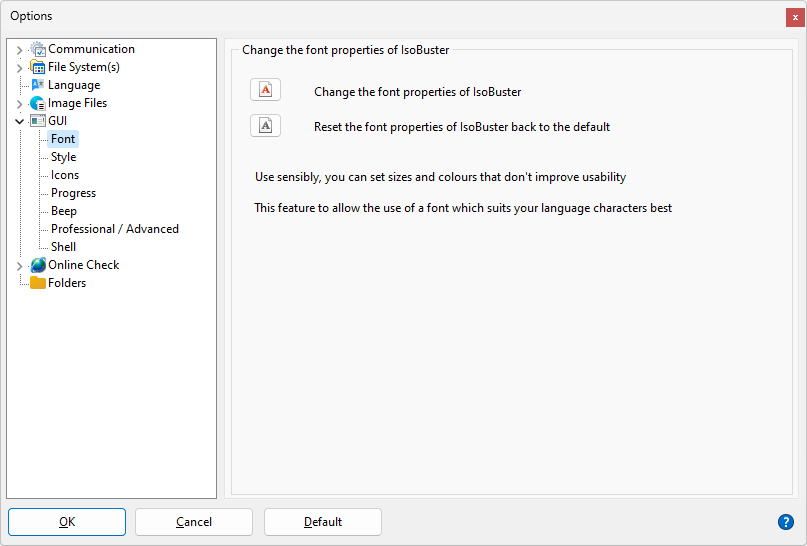
Although IsoBuster uses a font that is supposed to work right on all localized Windows versions, sometimes certain Windows versions contain other fonts that suit the language characters better (Maybe even extra installed fonts). This option allows you to select another font so that your Japanese or Arabian or ... version looks better. This options also allows you to set ridiculous fonts in terms of size, type and maybe color, but that's up to you. You can always hit the default button to set the font back to the design state.
Changing the Style
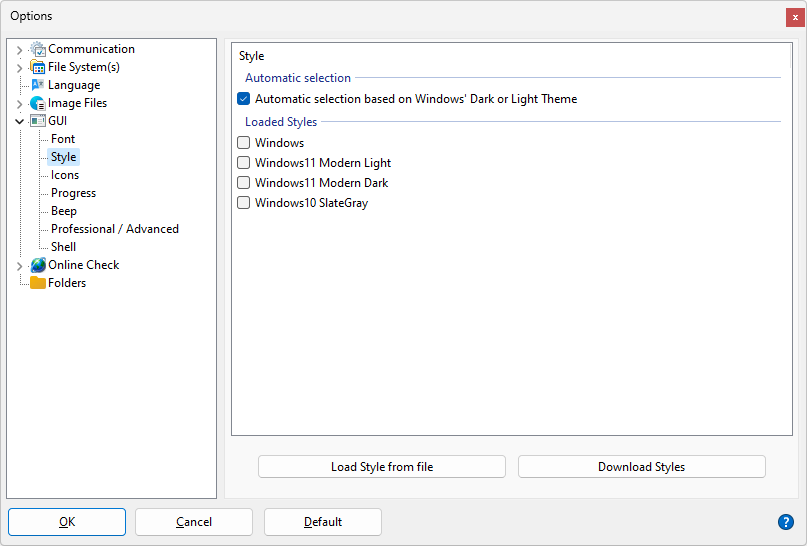
Choose a dark, light or the native Windows style or let it be decided by Windows itself.
When you change a style the style is applied when you exit the options window except when 1000 or more objects are in use because then the repainting may take too much time. In case of the latter the style is applied after you restart IsoBuster.
Low priority icons

IsoBuster shows a couple of icons next to files and folders if they posses certain properties. To avoid confusion, a selection of these icons can be disabled. Icons showing properties such as "contains read errors" can never be disabled.
Progress Bar during extraction
All IsoBuster versions up to version 1.5 have always shown a progress bar per file. One of the reasons was that if a directory was extracted, it was not always known yet how many files and sub-directories that directory contained and so it was impossible to calculate and show an exact progress bar.
In the mean time things have changed and there are a fair number of situations where the content of sub-directories is already known and stored in memory. So in these cases showing a progress bar for an entire operation is not that hard.
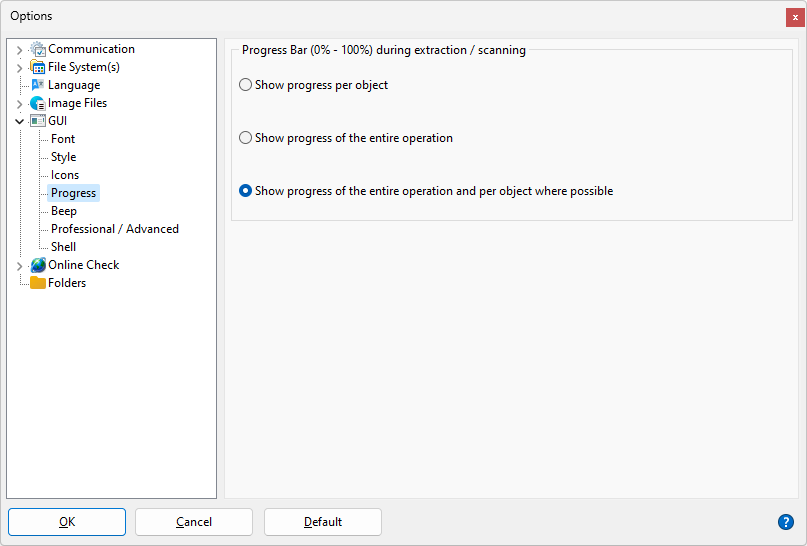
As of version 1.6 the progress bar is now always shown an calculated over an entire operation. This also means that in case the sub-directory content is not known yet, that content will be scanned first ! So a directory scanning operation that would occur during the extraction itself is now occurring before the actual extraction starts. This does not mean that the entire operation will take longer ! In fact, often this reduces the overall time needed for an extraction of directories with sub-directories.
For old times' sake, a progress bar per file (object) can be enabled again. And to make it really interesting, both progress bars can be shown during the extraction operation
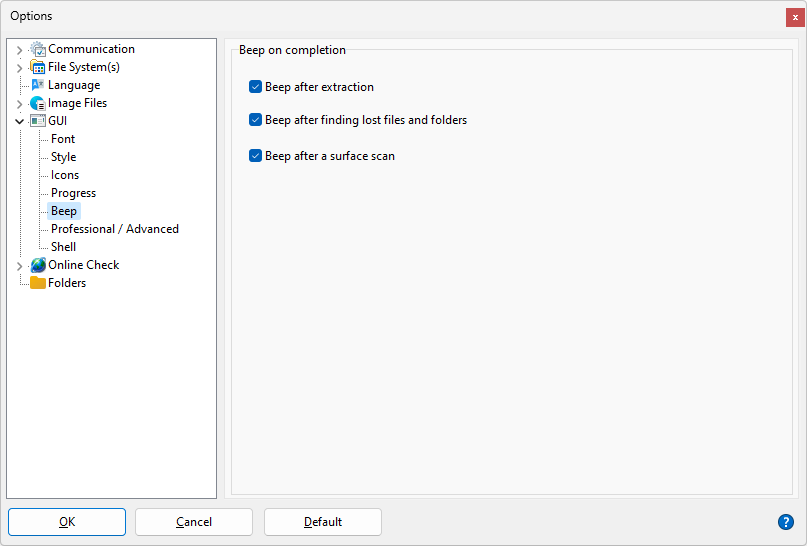
Beep
Professional / Advanced
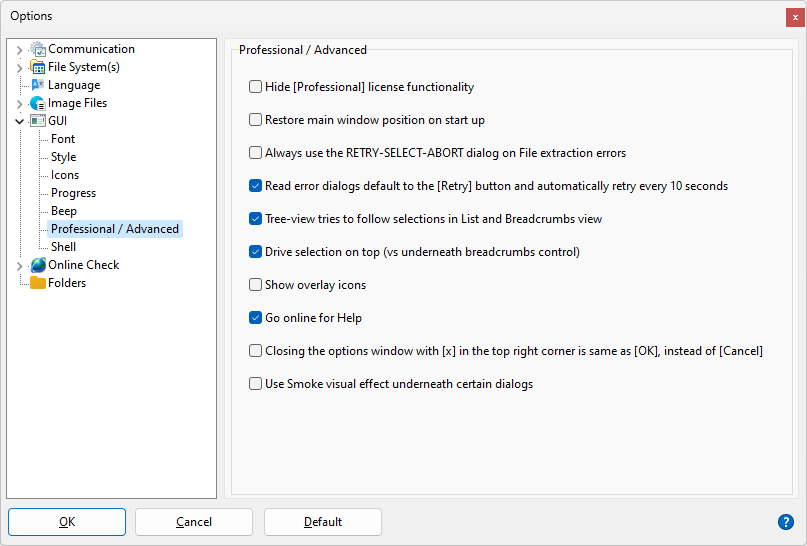
Hide [Professional] license functionality
IsoBuster comes in two flavours. A Personal version and a Professional version. The Professional version has some special features. These special features (for instance viewing extents and adding/editing extents) can remain hidden. So instead of these features showing up during right mouse click on an object, they are not shown at all when this option is checked.
Restore main window postion on start up
While height and width of IsoBuster are saved and re-used when you start up again, the position of the window is always centered on start up. If you want to also save and re-use the position of the window, where it was when you closed it, then you have to check this option !
Always use the RETRY-SELECT-ABORT dialog on File extraction errors
If you prefer the RETRY_SELECT_ABORT dialog over the RETRY_IGNORE_ABORT dialog
Read error dialogs default to the [Retry] button and automatically retry every 10 second
The RETRY_SELECT_ABORT dialog defaults to Select, but if you want it to default to Retry instead, check this option.
When the Retry button is selected, either automatically or because you clicked it, Retry automatically executes every 10 seconds.
This way you can leave an extraction process be, because when there is a read error, the dialog pops up, continues to retry until the read succeeds, and next continues.
One exception, if you're reading from an image file rather than actual real media, retrying makes no sense, so then the automatic retrying is disabled.
Tree-view tries to follow selections in List and Breadcrumbs view
When you make a selection in the right hand side pane (ListView) or right hand side top Breadcrumbs control, the selection in the left hand side pane (TreeView) tries to follow. You can turn that off and emulate more the Windows behavior.
Drive selection on top (vs underneath breadcrumb control)
There are two 'views' that can be set in IsoBuster. One is the drive selection 'combo-box' in the top left corner (default). The other 'view' puts the drive selection 'combo-box' underneath the breadcrumb control (also top left)
Show overlay icons
Some drivers and tools can put overlay icons over the standard windows icons, to indicate a state. For instance cloud based solutions tend to indicate whether a file is uploading or synced already etc. Version control tools indicate whether a file has been changed or not. And so on. There are many such applications possible. IsoBuster can ask Windows and display the overlay icons as well but this can cause undesired side effects on some systems. It appears to be a newer Windows (Windows 8 and 10) driver issue in combination with certain video cards. Frankly the exact reason is unknown. The effect is that when you hover over the files in the right hand side TreeView panel, the names of the files change, because IsoBuster gets wrong information about where the cursor is located. It is known to happen on roughly 5-6 systems out there, but there must be more, so the functionality is off by default, and can be turned on as desired.
Go online for help
Default, (since v 4.1) IsoBuster goes online to show you the relevant help article (If you click a help button or use F1). This can be turned off again by unchecking this option.
Closing the options window with [x] in the top right corner is the same as [OK] instead of [Cancel]
Default, closing the options / settings window with the [x] in the top right corner is same as clicking the [Cancel] button. And so any changes you made are ignored and forgotten again. If you turn this option on, clicking the [x] in the top right corner is same as clicking the [OK] button and changes you made are stored and taken in account.
Use Smoke visual effect underneath certain dialogs
This option enables showing the W11-style smoke effect underneath certain dialogs (for instance under Options and About)
Shell
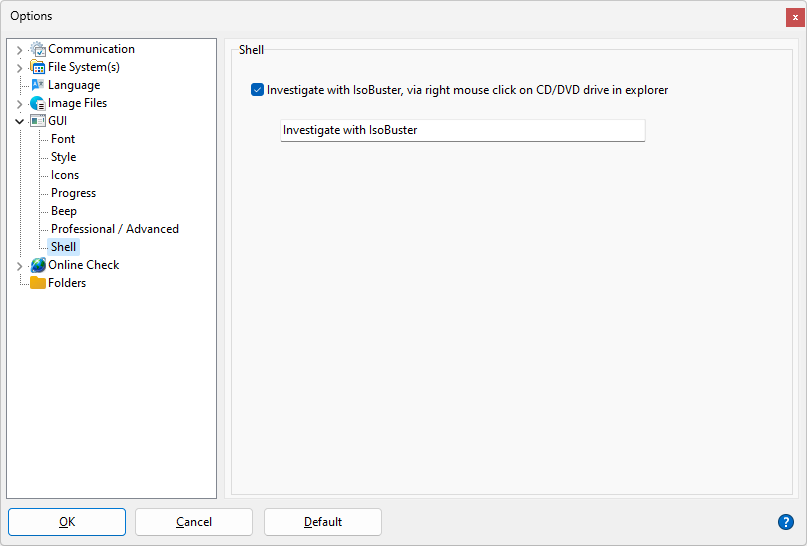
After IsoBuster installation, when you right mouse click a CD/DVD drive in Windows Explorer, you will see the option "Investigate with IsoBuster".
You can turn this off or change the text to something you like better.
This option also fixes an issue in Windows that typically can happen after a Windows 10 update/upgrade. The issue causes IsoBuster to start automatically when you insert a disc.
By simply going to this option and then closing options again, you trigger IsoBuster to check for the issue and fix it in the registry. No reboot required, the effect is immediate.