Configuration de la GUI
Messages
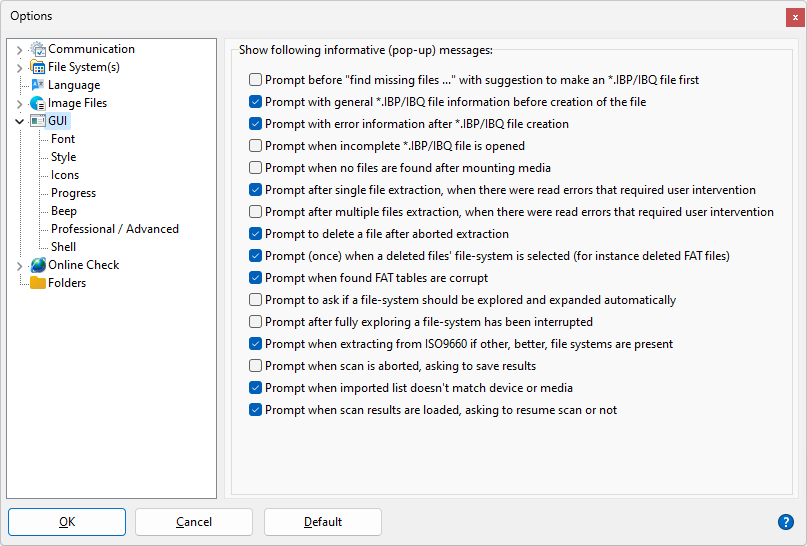
Vous pouvez parfois recevoir un message, en tant qu'utilisateur, vous demandant ce qui est à faire.
Pour certains d'entre eux, surtout ceux qui concernent la création et l'achèvement des fichiers IBP / IBQ gérés, vous pouvez demander à ne plus être dérangé.
Ce qui ce fait par l'intermédiaire d'une case à cocher en bas du message.
Vous pouvez réactiver cette fonction via lles Options.
Changer la police
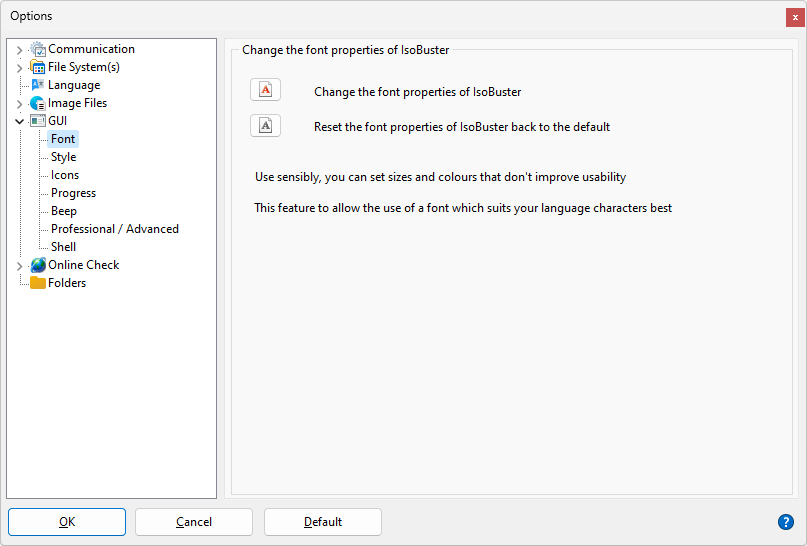
Bien qu'IsoBuster utilise une police compatible pour le bon fonctionnement de toute version de Windows, certaines de ces versions de Windows peuvent parfois contenir d'autres polices qui conviennent mieux aux caractères de la langue installée (peut-être même des polices externes). Cette option vous permet de sélectionner une autre police de façon à mieux convenir à votre version Japonaise ou Arabe .... Cette options vous permet aussi d'installer des polices ridicules en terme de taille, de type et peut-être de couleur, mais qui vous conviennent. Vous pourrez toujours cliquer sur le bouton par défaut pour revenir à la police d'origine.
Changer le style
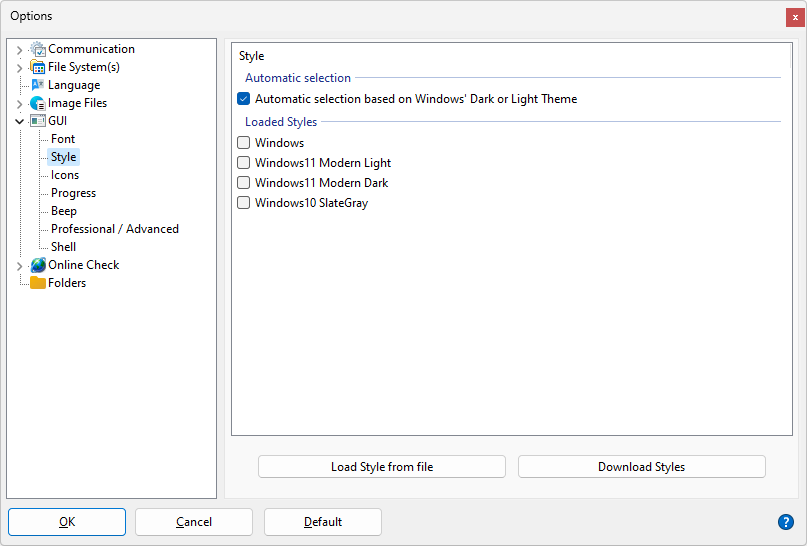
Choisissez un style sombre, clair ou le style natif de Windows, ou laissez Windows décider lui-même.
Lorsque vous changez de style, celui-ci est appliqué à la fermeture de la fenêtre des options, sauf si 1000 objets ou plus sont utilisés, car alors le rafraîchissement pourrait prendre trop de temps. Dans ce cas, le style est appliqué après le redémarrage d'IsoBuster.
Affichage des icônes basse priorité (informationel)
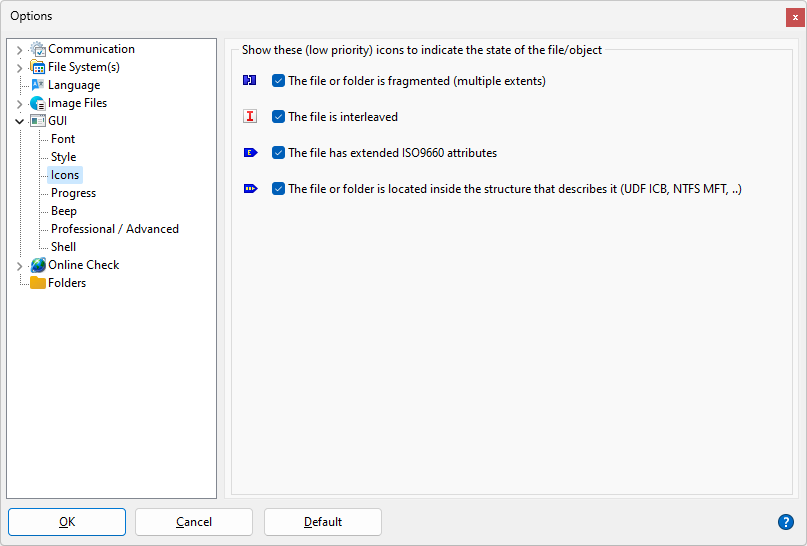
IsoBuster, par défaut, affiche deux icônes devant les fichiers et dossiers s'il possèdent certaines propriétés.
Pour éviter la confusion, une sélection de ces icônes peut être désactivée.
Les icônes indiquant les propriétés telle que "contient des erreurs de lecture" ne peuvent jamais être désactivées.
Barre de Progression au cours de l'extraction
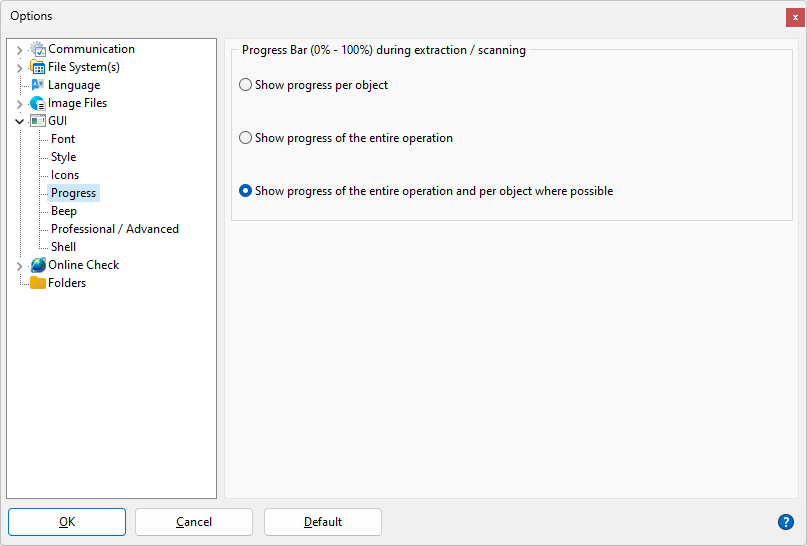
Toutes les versions d'IsoBuster jusqu'à la version 1.5 possédaient une barre de progression par fichier.
Une des raisons en était que lorsque qu'un répertoire était extrait, le nombre de fichier et de sous-répertoires n'était pas toujours connu et il était impossible et d'afficher une barre de progression précise.
Depuis, les choses ont changé et il existe beaucoup de situations où le contenu des sous-dossiers est déjà connu et enregistré dans la mémoire. Dans de tels cas, l'affichage d'une barre de progression pour le traitement entier n'est pas si compliqué.
Avec la version 1.6 la barre de progression est désormais affichée pendant toute la durée du traitement complet.
Ce qui signifie aussi que dans le cas où le contenu d'un sous-dossier n'est pas déjà connu, celui-ci sera examiné en premier !
Ainsi, un examen de répertoire qui pouvait se produire au cours de l'extraction elle-même se produit désormais avant le démarrage de cette extraction. Ce qui ne signifie pas que tout le traitement prendra plus de temps ! En fait, ça réduit l'ensemble de la durée nécessaire à l'extraction des répertoires avec leurs sous-répertoires.
En souvenir du passé, une barre de progression par fichier (objet) peut encore être activée.
Et pour que ce soit vraiment intéressant, les deux barres de progression peuvent être affichées au cours de l'extraction.
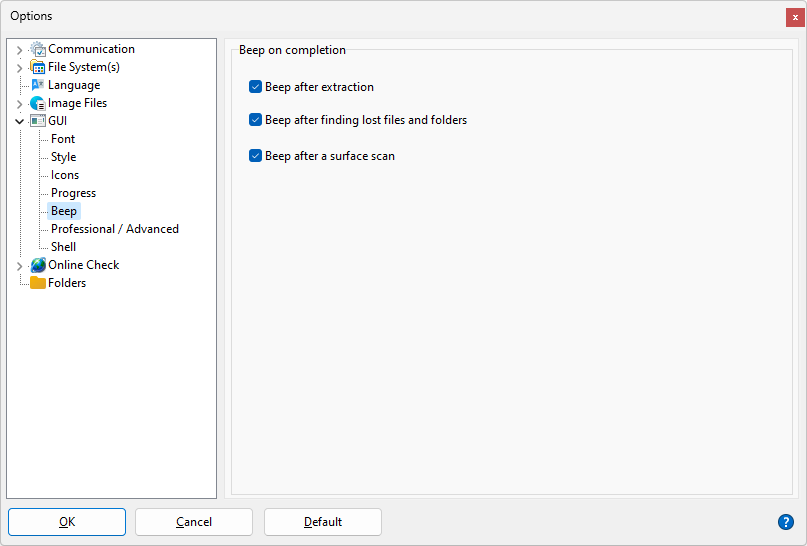
Bip
Entreprise
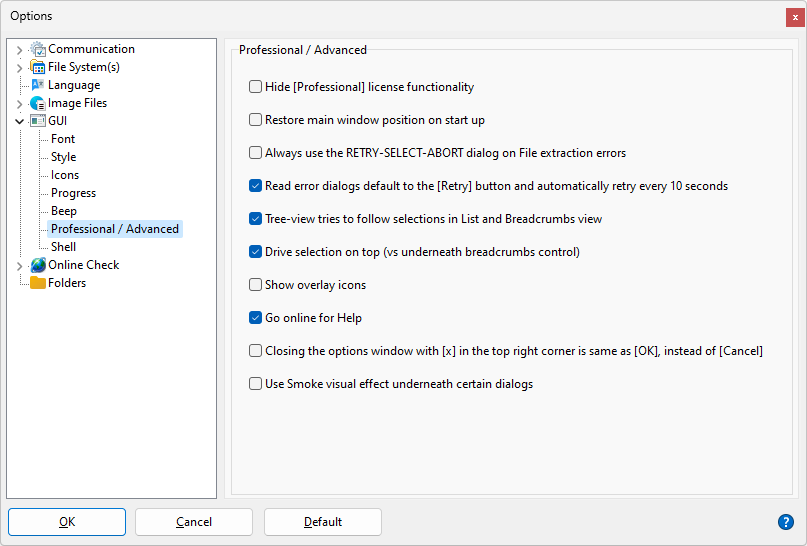
Masquer les fonctionnalités de la licence Professional
Depuis la version 2.0, IsoBuster est proposé sous deux moutures. Une version personnelle et une version entreprise pour les professionnels. La version entreprise contient quelques fonctions spéciales, surtout à partir de la version 2.2. Ces fonctions spéciales (par exemple voir les fragments et ajouter/éditer des fragments) peuvent être cachées. Ainsi, plutôt que d'apparaître lors d'un clic droit de la souris sur un objet, elles ne sont pas visibles si cette option est désactivée.
Restaurer la position de la fenêtre principale au démarrage
Bien que la hauteur et la largeur d'IsoBuster soient enregistrées et réutilisées au démarrage, la position de la fenêtre est toujours centrée au lancement. Si vous souhaitez également enregistrer et réutiliser la position de la fenêtre, telle qu'elle était lors de la fermeture, vous devez cocher cette option !
Toujours utiliser la boîte de dialogue RELANCER-SÉLECTION-ABANDONNER en cas d'erreurs d'extraction de fichiers
Si vous préférez la boîte de dialogue RELANCER_SÉLECTION_ABANDONNER plutôt que RELANCER_IGNORER_ABANDONNER
Les boîtes de dialogue d'erreur de lecture sont par défaut sur le bouton [Réessayer] et réessaient automatiquement toutes les 10 secondes.
La boîte de dialogue RELANCER_SÉLECTION_ABANDONNER est par défaut sur Sélection, mais si vous souhaitez qu'elle soit par défaut sur Relancer, cochez cette option.
Lorsque le bouton Relancer est sélectionné, soit automatiquement, soit parce que vous l'avez cliqué, Relancer s'exécute automatiquement toutes les 10 secondes.
Ainsi, vous pouvez laisser un processus d'extraction se dérouler, car lorsqu'une erreur de lecture se produit, la boîte de dialogue apparaît, continue de réessayer jusqu'à ce que la lecture réussisse, puis poursuit l'extraction.
Une exception : si vous lisez à partir d'un fichier image plutôt que d'un support réel, relancer n'a pas de sens, et le réessai automatique est alors désactivé.
L'arborescence (Tree-view) suit les sélections dans les vues Liste et Breadcrumbs
Lorsque vous effectuez une sélection dans le volet de droite (ListView) ou dans le contrôle Breadcrumbs en haut à droite, la sélection dans le volet de gauche (TreeView) essaie de suivre. Vous pouvez désactiver cette option pour émuler davantage le comportement de Windows.
Auto-réduction de TreeView
Par défaut, un nœud de l'arborescence se replie lorsqu'un autre nœud est sélectionné. Ce comportement peut être désactivé.
Sélection du lecteur en haut (vs sous le contrôle Breadcrumbs)
Deux « vues » peuvent être définies dans IsoBuster. L'une place la « combo-box » de sélection du lecteur dans le coin supérieur gauche (par défaut). L'autre « vue » place la « combo-box » sous le contrôle Breadcrumbs (également en haut à gauche).
Afficher les icônes superposées (overlay icons)
Certains pilotes et outils peuvent placer des icônes superposées sur les icônes Windows standard pour indiquer un état. Par exemple, les solutions cloud indiquent si un fichier est en cours de téléchargement ou déjà synchronisé. Les outils de contrôle de version indiquent si un fichier a été modifié ou non, etc. IsoBuster peut demander à Windows et afficher ces icônes superposées, mais cela peut provoquer des effets indésirables sur certains systèmes. Cela semble être un problème avec certains pilotes de Windows récents (Windows 8 et 10) combinés à certaines cartes vidéo. La raison exacte est inconnue. L'effet est que lorsque vous survolez les fichiers dans le panneau TreeView à droite, les noms des fichiers changent, car IsoBuster reçoit des informations erronées sur la position du curseur. Ce problème est connu sur environ 5 à 6 systèmes, mais il doit y en avoir davantage. Par défaut, cette fonctionnalité est désactivée et peut être activée si désiré.
Se connecter à Internet pour l'aide
Par défaut (depuis la version 4.1), IsoBuster se connecte à Internet pour afficher l'article d'aide pertinent (lorsque vous cliquez sur un bouton d'aide ou utilisez F1). Cette option peut être désactivée en décochant cette case.
Fermer la fenêtre des options avec [x] en haut à droite équivaut à [OK] au lieu de [Annuler]
Par défaut, fermer la fenêtre des options / paramètres avec le [x] en haut à droite équivaut à cliquer sur [Annuler]. Ainsi, toutes les modifications effectuées sont ignorées et perdues. Si vous activez cette option, cliquer sur le [x] en haut à droite équivaut à cliquer sur [OK], et les modifications sont enregistrées et prises en compte.
Utiliser l'effet visuel Smoke sous certaines boîtes de dialogue
Cette option permet d'afficher l'effet de fumée de style Windows 11 sous certaines boîtes de dialogue (par exemple Options et À propos).
Shell
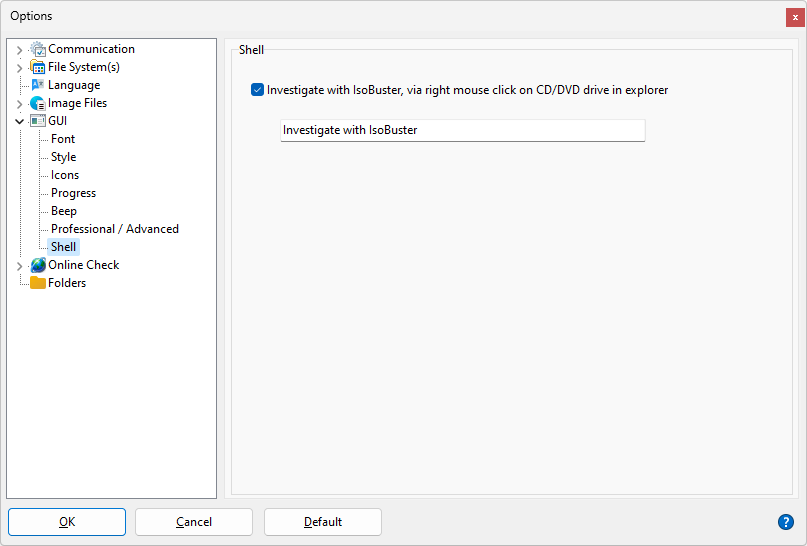
Après l'installation d'IsoBuster, lorsque vous cliquez avec le bouton droit sur un lecteur CD/DVD dans l'Explorateur Windows, vous verrez l'option « Examiner avec IsoBuster ».
Vous pouvez désactiver cette option ou modifier le texte selon votre préférence.
Cette option corrige également un problème sous Windows qui peut se produire après une mise à jour ou une mise à niveau de Windows 10. Le problème fait qu'IsoBuster se lance automatiquement à l'insertion d'un disque.
Il suffit de sélectionner cette option puis de fermer à nouveau les options pour qu'IsoBuster vérifie le problème et le corrige dans le registre. Aucun redémarrage n'est nécessaire, l'effet est immédiat.